After building a center console and adding a B&M Megashifter floor shifter, I had the knob on the column where the old shift lever used to be. I have a tilt column and from what I have found out, it is a real rare piece to find a column sleeve from a floor shifted truck that came with tilt. Not saying they never made them, but they were extremely rare as far as I know. I only know I've never seen one before. I thought about cutting it off and patch it, then paint it to match. This would have worked I guess. Now with the Megashifter, I can slam gears and have been wanting a shift light so I wouldn't need to watch the tach when shifting manually. Since I already had a MSD 6AL ignition box, which uses the RPM modules to determine the cutoff limit, I decided to get a MSD shift light, which uses the same type modules to determine when the light comes on. The 6AL came with different rpm modules, but the closest to 5500 was a 6000 rpm module. I want to shift at 5500, so I ordered a set of modules that included this range. Then I used a 5700 module to put in the 6AL box, with a 5500 rpm module in the light. Now to the point of all this. So, I decided to put
the shift light on the column, where the knob is located. I used a 4" side
grinder with a cutoff wheel to cut it off. Then I filed it smooth where the cut
is. Painted it to match the rest of the column. The shift light comes with a
mounting bracket, so I mounted it over the hole which was left. This hole also gave
me a way of running the wire though and out the bottom under the dash so it wouldn't be
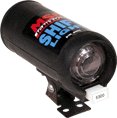
seen. MSD Shift Light #8952
Mounting the light: After the column knob is cut off and painted, first
thing you need to do is take the column cover off at the bottom. You will need
access here in a bit. Now you need to mark where the holes in the column need
to be in order to mount the bracket. You will need to take the bracket off the light
to gain room to mark and mount it. As you see in the photo above, it has two holes
in the front, and you don't see, one in the back. Well, the two holes are the
problem. With the tilt column, you can't slide it too far toward the steering wheel,
or the mounting screws with hit and the wheel won't turn. Not a good thing. So
I put it all the way to the front edge of the column sleeve. In doing this, the two
front mounting holes were sitting where the hole was left when I cut the knob off.
To solve this little problem, I just drilled a new hole in between these two, more toward
the front edge. Problem solved. Now to the screws. You will need to cut
the screws off to keep them from hitting inside the column. Around 3/8" of an
inch long is about right. You will need to drill a hole big enough in the center of
the mounting bracket so the wire will fit. Next find a wire to use as a fish.
It needs to be semi stiff so it will fish it's way through the column and come out at the
bottom. Once you have it out at both ends, tape the shift light wire to it and
slowly pull it though and out the bottom. Now you can mount the bracket and fasten
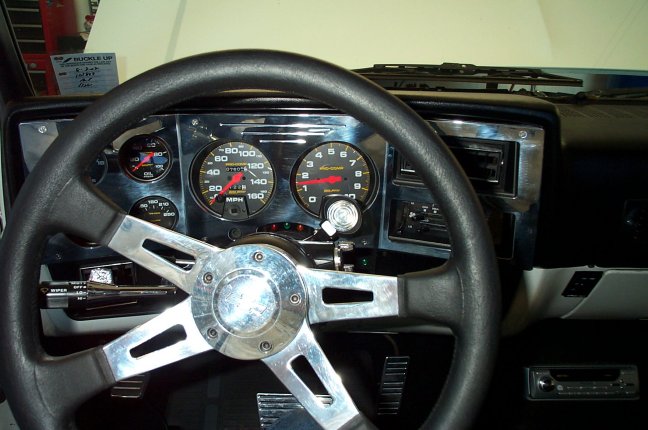
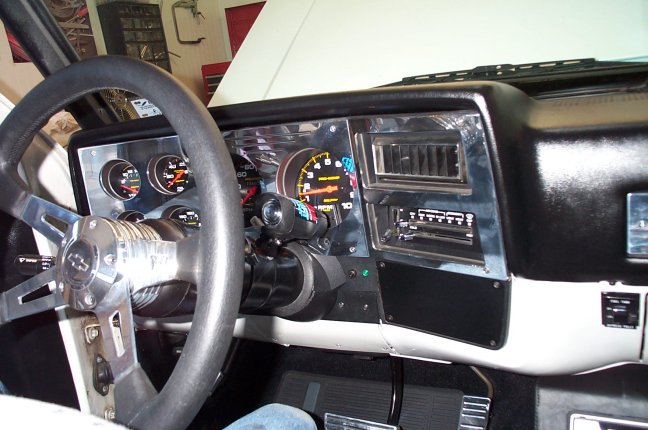
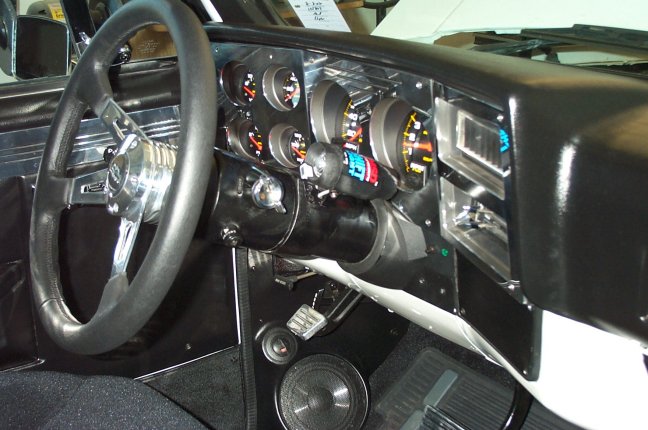
the light back on. Running the wire: First, drill a 5/16" hole in the firewall right beside the speedo cable location, for the rubber grommet. By all means, use the grommet so the wire won't rub on the metal and possibly short out. This would be bad for sure. When you get the grommet in place, run the wire through it. You will need to extend the wires, because they are not long enough. Very strange. It sure would have been nice if they would made it 2 or 3 feet longer. Once you get the wires ready, run them to the distributor. The green wire goes to the negative terminal at the cap, or if using a separate coil like I am, such as a MSD Blaster 2, it will go to the negative terminal on the coil. The red wire goes to the positive terminal on the cap, or to the positive terminal on the coil. The black goes to any good ground source. I recommend using some crimp on terminals so everything will work nicely. Also, use some butt connectors, or solder to extend the wires. Tape all exposed areas. Oh, don't forget to put the rpm module in the light. You can use this link on MSD's site, to determine what modules you will need. They don't come with the light, btw. I bought the 5100 set, #87451. They come in sets of 5, so the 5100 set is a 5100, 5300, 5500, 5700, and a 5900. So now, you should be set to go. Below is a few photos of how mine ended up looking. Pretty nice and works great. Right below the tach and in line of site. No way you should not be shifting at the right rpm after this. Oh, before you say it, yes, I removed the sticker from the light. No way I wanted that thing on there.
|